
 3D Wallpapers
 4K Wallpapers
 Video Wallpapers
 Wallpaper Images
 Slideshow Wallpapers
 Parallax Wallpapers
 Boomerang
 Colorful Wallpapers
 Blue Wallpapers
 Red Wallpapers
 Black Wallpapers
 White Wallpapers
Art Live Wallpapers
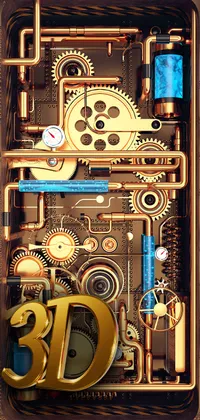
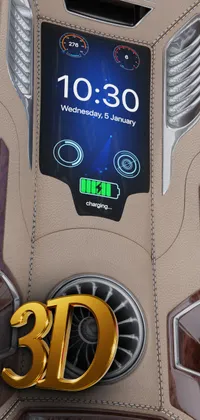
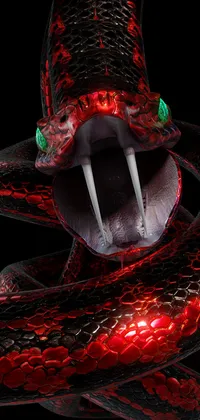
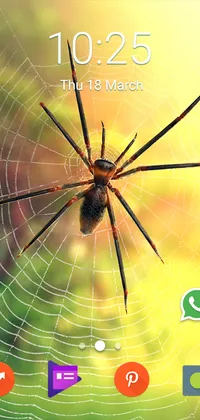
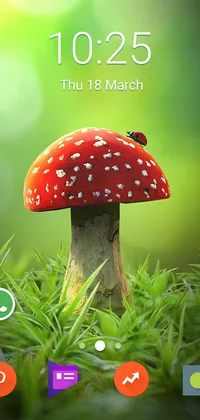
Download 3D & animated Art phone backgrounds to your iPhone or Android phone in HD and 4K image quality. Discover our thrilling wallpaper art that fits your phone’s home and lock screens with abstract motifs, artistic designs, and cool effects. Create your own wallpaper for your phone using our live wallpaper maker. Download for free!


Best of Art Live Wallpapers


Useful resources:
LiveWallpapers © 2024